Eclipse :
Eclipse 4 Basic ConceptsHow to create a Plug-in Project
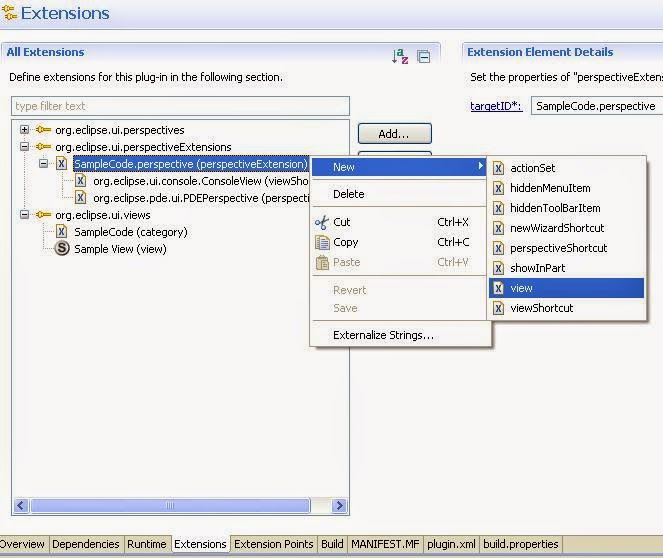
How to create a new Perspective using Extension Point
How to add Perspective Shortcut or View Shortcut using extension point
How to create a new View
How to create Sticky View
Adding functionality in Sample View - Show all projects in Sample View
Adding Action in Menu or Toolbar of Sample View programmatically
How to add Action and Menu in Eclipse Toolbar and Menu bar respectively
How to hide or show action set in eclipse workbench when eclipse related part (like: Editor, View etc.) will be (de)activated
How to enabled/disabled the View action depending on the File selection in View? How to open file in eclipse using View Action?
How to create an Eclipse Extension Point and Implement in another Plug-in Project
Git Hub:
How to use Git and Git Tutorial
UML & Design Pattern:
UML - Basic concepts
Java Design Pattern
JNI (Java Native Interface):
Basic of JNI with Eclipse 4 and Visual C++ in Windows